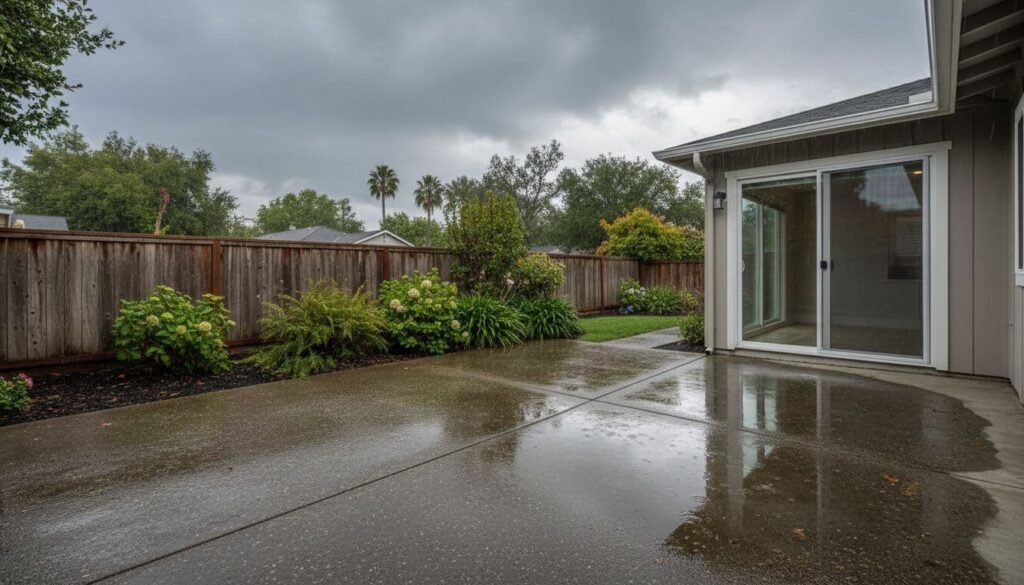
Water pooling on a patio after a San Jose downpour isn’t just annoying. It’s a slip hazard, it stains concrete, and it can push moisture toward your home’s foundation.
Most standing water comes from two things: a bad slope (the slab or yard is pitched the wrong way) or too much water being dumped in one spot (often from roof downspouts). The good news is you don’t always need a full tear-out to fix it.
Below are practical, safety-forward patio drainage fixes that match common issues around San Jose, from Willow Glen to Almaden Valley: clay soils, minor settlement, and hardscapes that were poured too flat.
Why patios pool in San Jose (it’s usually one of these)
Flat or negative slope. Concrete should shed water. If the patio is dead flat, or worse, tipped toward the house, water will sit in the low areas.
Settlement and soil movement. Many San Jose neighborhoods have clay-rich soils that hold water and expand and shrink through wet and dry cycles. That movement can leave a birdbath low spot in the slab or along the patio edge.
Downspouts dumping next to the patio. One storm can send hundreds of gallons off a roof plane. If it lands at the patio corner, it erodes the base and overwhelms the surface.
Hardscape “bathtubs.” Raised edges, planters, or tight side yards can trap water with nowhere to go.
Safety and local rules before you start (don’t skip this)
Drainage work sounds simple until you hit a gas line or you route water somewhere it doesn’t belong.
- Call 811 before digging. In California, call 811 (Underground Service Alert) and wait for markings before any trenching, even shallow drain lines.
- Protect the foundation. Don’t dig deep trenches tight to the house footing. Don’t create a slope that sends water toward the stem wall. Keep discharge points well away from the foundation.
- Don’t send runoff to your neighbor. It can create damage and disputes fast. Keep water on your property and control the release.
- Storm drain and sewer tie-ins can be regulated. Direct connections to the street storm drain system are not a casual DIY move. Start by reviewing the City’s guidance on grading and drainage permits and the City’s stormwater management measures. For a broader local context, Santa Clara County’s Stormwater Management Program is also useful.
Diagnose the problem first (10 minutes that saves money)
Before buying drains, confirm what’s actually feeding the puddle.
- Wait for a real rain, or run a hose for 10 to 15 minutes where water normally shows up.
- Use a 4-foot level (or a straight 2×4 with a level) to check slope.
- Mark the ponding outline with chalk once the water stops spreading.
- Check downspouts and splash blocks during the flow. If water is blasting the patio corner, fix that first.
A good target is 1 to 2 percent slope away from the house, which is about 1/8 to 1/4 inch per foot. You don’t need perfection, you need consistent fall.
Patio drainage fixes that actually work (and when to use each)
Regrading with a tapered concrete overlay (best for low spots on an otherwise solid patio)
Works when: The slab is structurally sound, but has shallow ponding or a slight reverse slope.
Doesn’t work when: The slab is heaved, badly cracked, or has major settlement. That usually needs lifting or replacement.
Step-by-step
- Clean and prep hard. Remove dirt, algae, and any curing compounds. Grinding is often needed so the overlay bonds.
- Set slope lines. Snap chalk lines and measure thickness so water runs away from the house.
- Use a bonding agent and a polymer-modified overlay rated for exterior use.
- Place and screed the taper. Feather edges carefully, but don’t go razor-thin where traffic hits.
- Cure and seal. Keep it from drying too fast, then seal for stain resistance once cured.
If you want a deeper look at repair options, see Concrete resurfacing and repair services for patios.
Install a channel drain (best for patio edges and “water coming from the yard”)
Works when: Water sheets across the patio, or you need a hard stop line at a doorway, gate opening, or patio edge.
Doesn’t work when: You have no legal, safe outlet for the discharge, or the drain will dump water near the foundation.
Step-by-step
- Pick the collection line. Put the channel drain where the water should be intercepted, usually across the low edge.
- Cut and excavate. Sawcut a straight trench wide enough for the drain body and concrete encasement.
- Set drain elevation. The grate should finish flush or slightly low so it catches water.
- Connect to solid pipe. Use solid PVC (not perforated) to move water to the discharge point.
- Add a cleanout. This is a common miss. Without it, maintenance is harder.
- Bed and haunch in concrete. A channel drain needs side support so it doesn’t rock or crack at the edges.
Extend or redirect downspouts (best first fix when roof water is the culprit)
Works when: The puddle appears right after the roof runoff hits the patio corner.
Doesn’t work when: The patio is already pitched wrong and collects water even without downspout flow.
Step-by-step
- Add a leaf screen at the gutter or downspout to reduce clogging.
- Run solid pipe from the downspout to a pop-up emitter or other approved outlet area on your property.
- Maintain slope so it drains after the storm; even a small pitch helps.
- Discharge onto a stable area (gravel bed, swale, or planting zone), not onto bare soil that will erode.
Add a French drain to a safe outlet (best for soggy edges and trapped water near the patio)
Works when: Water builds up along the patio edge, soils stay saturated, or you get seepage from an upslope yard.
Doesn’t work when: You can’t discharge to daylight or another approved outlet on your property, or you place it too close to the foundation.
Step-by-step
- Call 811. Then lay out the trench route to avoid utilities.
- Stay clear of the footing. Keep the trench a safe distance from the foundation and avoid undermining soil under slabs.
- Dig with slope toward the outlet.
- Use geotextile fabric lining the trench to keep clay fines out.
- Place clean, angular gravel (not rounded pea gravel).
- Install perforated pipe in the gravel section to collect water, then transition to a solid pipe to carry water to the discharge point.
- Wrap, cover, and compact so the system doesn’t silt in or settle.
Permeable pavers or a gravel band (best for small patios or as an overflow zone)
Works when: You need a place for water to soak in or slow down, and you can build a proper base.
Doesn’t work when: Clay soils won’t infiltrate fast enough without an overflow path, or the area gets heavy furniture loads without proper base thickness.
A simple approach is a 12 to 24-inch gravel strip along the patio edge with landscape fabric and an open-graded base, so water has somewhere to go during peak rain.
If you’re planning a new surface layout, a custom concrete patio and walkway design can mitigate slope, control joints, and drain placement before concrete is placed. Reach out for a free consultation and estimate.
Quick decision guide (pick the fix that fits the cause)
| Fix | Best for | Avoid when | Disruption |
|---|---|---|---|
| Tapered overlay | Shallow low spots, minor slope issues | Major settlement, widespread cracking | Low to moderate |
| Channel drain | Surface sheet flow across patio | No safe discharge route | Moderate |
| Downspout redirection | Roof water dumping at patio | Patio still ponds without roof flow | Low |
| French drain | Saturated edges, seepage, soggy yard | Too close to footing, no outlet | Moderate |
| Permeable band/pavers | Overflow and infiltration zone | No infiltration, heavy loads without base | Low to moderate |
Common mistakes that make pooling worse
- Creating a negative slope toward the house during patching or overlay.
- Using perforated pipe where solid pipe is needed (outlet runs should be solid).
- Skipping cleanouts on buried lines.
- Burying pipe with no slope, so it holds water and silt.
- Putting a French drain right next to the foundation can soften support soils.
- Discharging water to the street, storm drain, or a neighbor’s yard without approval or control.
- Building permeable areas without fabric, then watching clay fines clog the voids.
Maintenance that keeps drains working year after year
- Hose out channel drains and check grates after the first big storm.
- Flush solid drain lines through the cleanout each fall.
- Keep gutters clean; one plugged downspout can undo every other fix.
- Reseal overlays and decorative surfaces as recommended. Sealer helps stains, but remember it also increases runoff. If you want a new look after drainage is handled, stamped decorative concrete for patios can be a nice upgrade.
Fix The Source, Drain the Excess
Patio pooling doesn’t fix itself; it slowly deteriorates concrete and pushes moisture where you don’t want it. The right patio drainage fixes start with diagnosis, then matching the solution to the water source.
Keep water moving away from the house, call 811 before any digging, and check City guidance if your plan changes grading or discharge. Once the patio drains right, everything else, from comfort to curb appeal, gets easier.